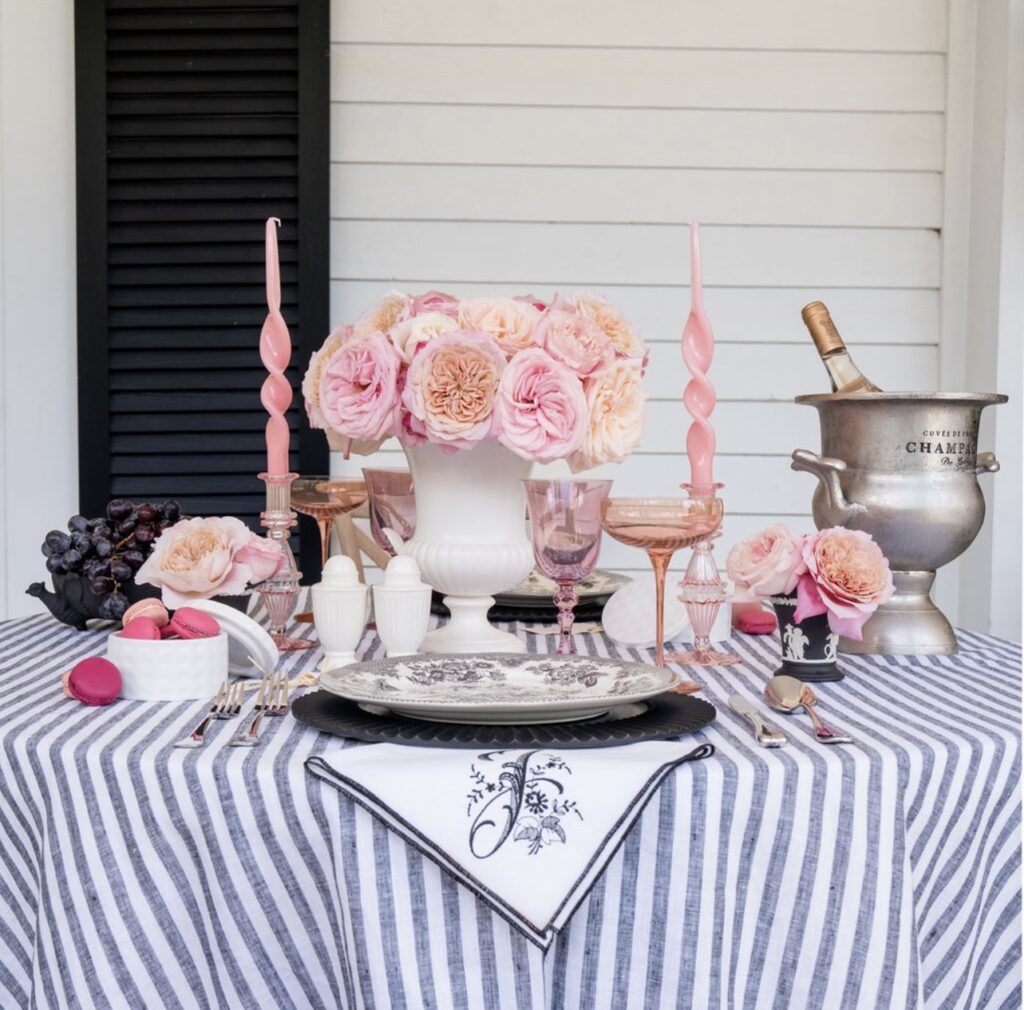
Every beautiful tablescape needs a fresh floral centerpiece and my favorite go-to centerpiece is an easy rose centerpiece made with fresh flowers from Grace Rose Farm.
Instructions for an Easy Rose Centerpiece
Putting together your rose centerpiece is easier than you think! This post will walk you through everything you need to know before putting together your easy rose centerpiece.
I cover what you need for a basic rose centerpiece, how to choose the right roses, how many roses you need, how to arrange the roses, and finally, how to put together an easy rose centerpiece!
Let’s dive in.
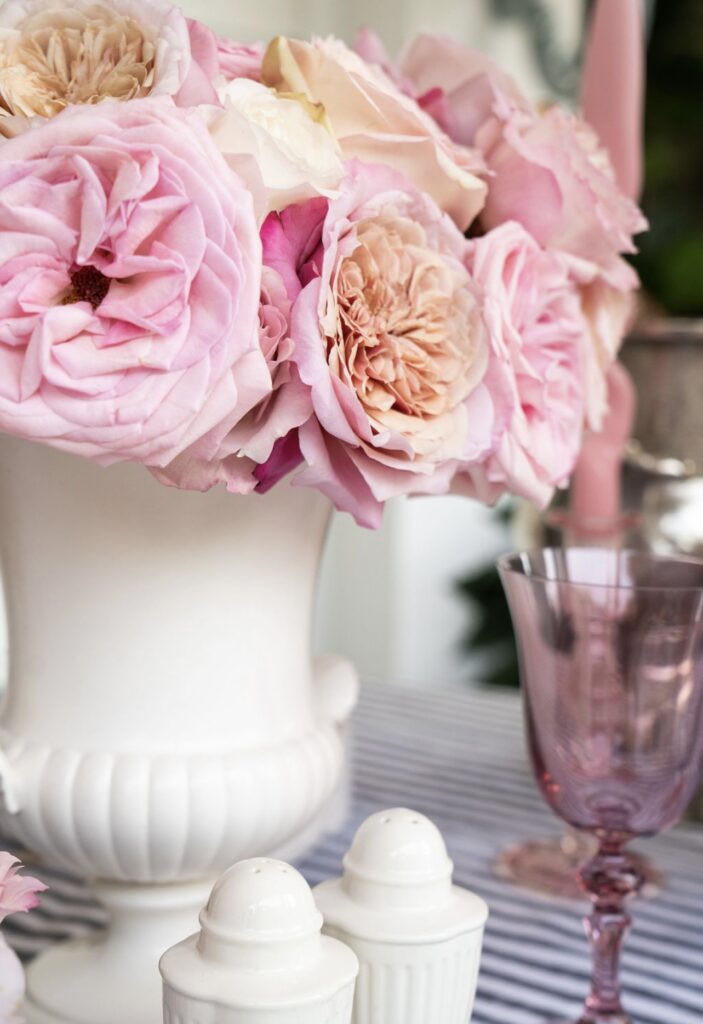

What you Need for an Easy Rose Centerpiece
To put together the ideal rose centerpiece, you need a few things:
- fresh roses
- some greens/filler (optional)
- a show-stopping vase
- floral scissors
- clear thin tape
And that is it! We’ll get into how to use everything mentioned above down below.
How to Choose the Right Roses for a Centerpiece
The backbone of your rose centerpiece; the roses! How do you choose the right roses for a beautiful centerpiece?
Well, first you must know how to look for healthy roses.
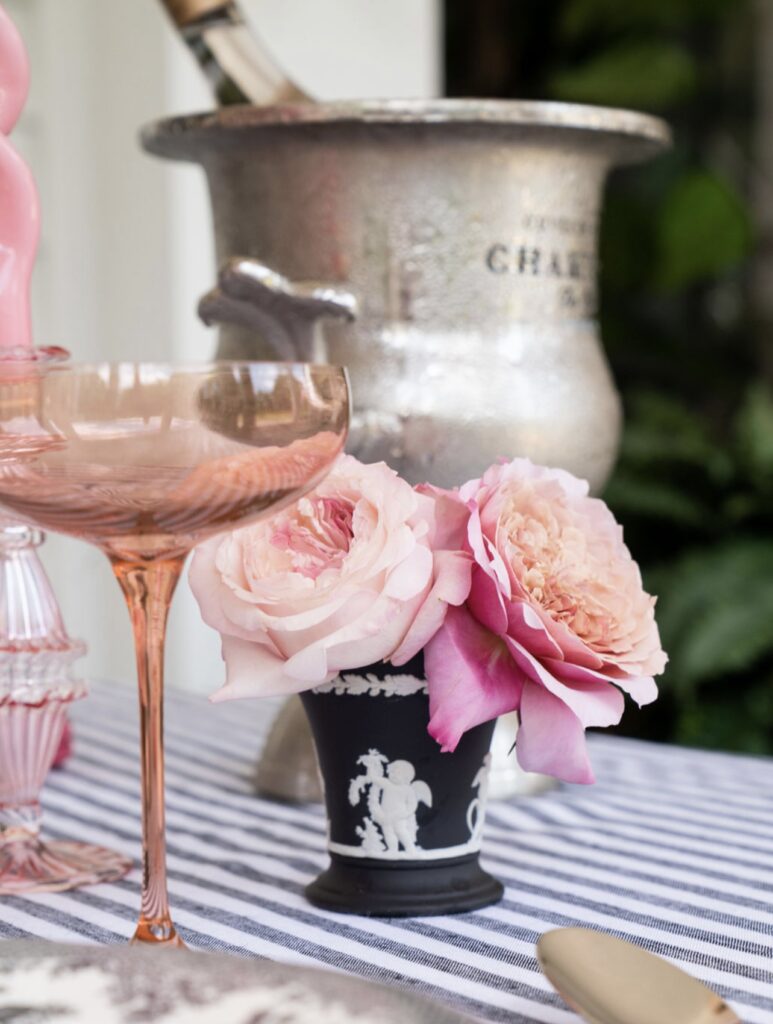

Here are some things to look for in a rose for a centerpiece:
- soft opened roses (not fully opened and falling apart, but not entirely closed either)
- no yellowing petals (you can easily take those off)
- a strong stem near the top of the rose (feel with your fingers; it should not bend)
- healthy looking leaves
- long stems (if needed for a large vase, otherwise not necessary)
Those are just a few things to keep in mind when looking for the perfect roses for your rose centerpiece.
Where to Buy Fresh Roses Online
I decided to purchase from Grace Rose Farm and I have to say, impressed is an understatement!
How Many Roses Do You Need for a Centerpiece
How many roses you need for a beautiful centerpiece varies depending on how large you want the arrangement to be.
In the rose centerpiece shared in this post, I used pink roses to create a full and luscious grouping of roses that stood out on the table.
To determine how many roses you need for your centerpiece, I would first decide how you want the arrangement to look. Do you want it to be a rose focused centerpiece, in which you don’t use any greens/filler (like shown here), or would you rather have a centerpiece packed with greens/filler and then decorated with roses.
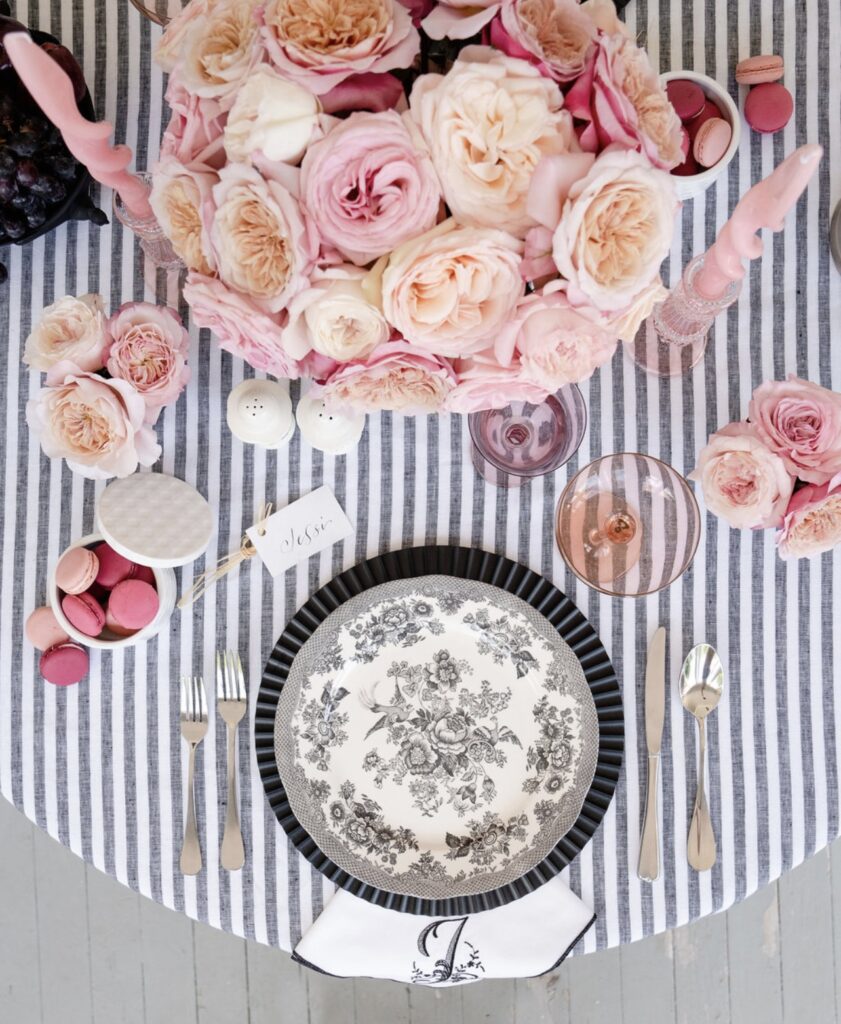

If you’d like a packed rose centerpiece without greens, I would suggest a large number of roses.
Choose your vase and bring it with you to the flower market you’re purchasing from. To figure out how many roses you’ll need, I would hold out a bouquet in front of the vase, grabbing it just under the bulbs, and see if that is enough to fill the top of the vase.
If it is not, grab another bouquet and do the same thing. You’ll want to look for the bulbs of the roses to be held together enough to flow out on top of the vase.
Look at the image below for reference on what I mean by flowing out the top of the vase.
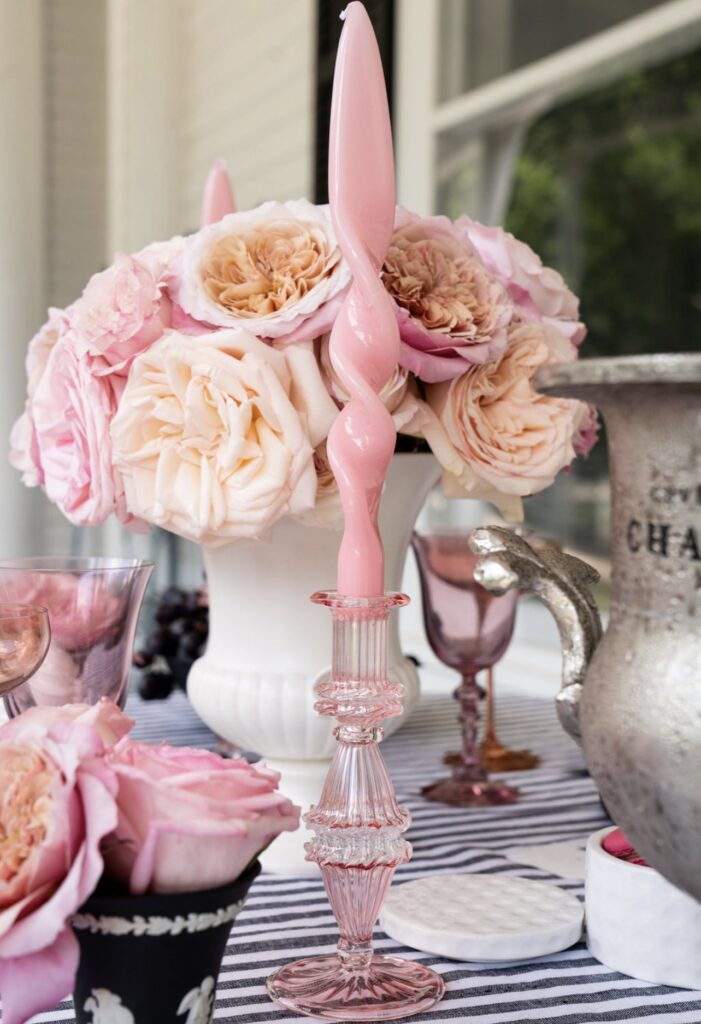

For a rose centerpiece with filler, I recommend buying in groups of three or four. We’ll get into how you arrange the flowers in your centerpiece down below, but essentially you will group the roses in groups of three or four when arranging so it’s best to purchase in that same number range.
Keep in mind that the common medium sized rose arrangement with greens/filler consists of 12 roses.
How Do You Cut Roses for Arrangements
When it comes to cutting the roses for the rose centerpiece, there are a few things to keep in mind.
First, the flowers should always be cut at a 45 degree angle. This allows the stem to absorb the maximum amount of nutrients from the water, thus making them last longer.
It is also suggested to cut rose stems just above nubs in the stem.
To decide the length of the stem needed for the arrangement, I want you to put your vase on a level table and set it as close to the edge as you can. Then, get level with the vase as you would for putting liquid in a liquid measuring cup and hold the rose as high as you want it to be outside of the vase. You will then cut off the end of the stem that goes beyond the vases base.
This video shows how to properly cut roses for a vase exceptionally well!
How Should Roses Be Arranged in a Vase
Arranging roses is much simpler than it might sound if you are new to putting together arrangements.
We’ve covered two methods of arranging roses so far: the rose only method and the rose + filler/greens method.
Here are some tips for arranging roses in a vase regardless of method:
- work in 3’s or 4’s (this means work with 3/4 roses/greens/fillers at a time)
- use tape squares for holding roses/greens/filler in place while arranging as a beginner
- when working on the outside/middle of the arrangement, add pieces in at an angle. Only add in the very top pieces straight down
- take off leaves that will fall into the water of the vase
Here is a great video that walks you through some tips for putting together a rose arrangement!
Now that you have all of that new information in your hands, let’s get to the actual arranging of this easy rose centerpiece.
Shop Beautiful Vases from Amazon
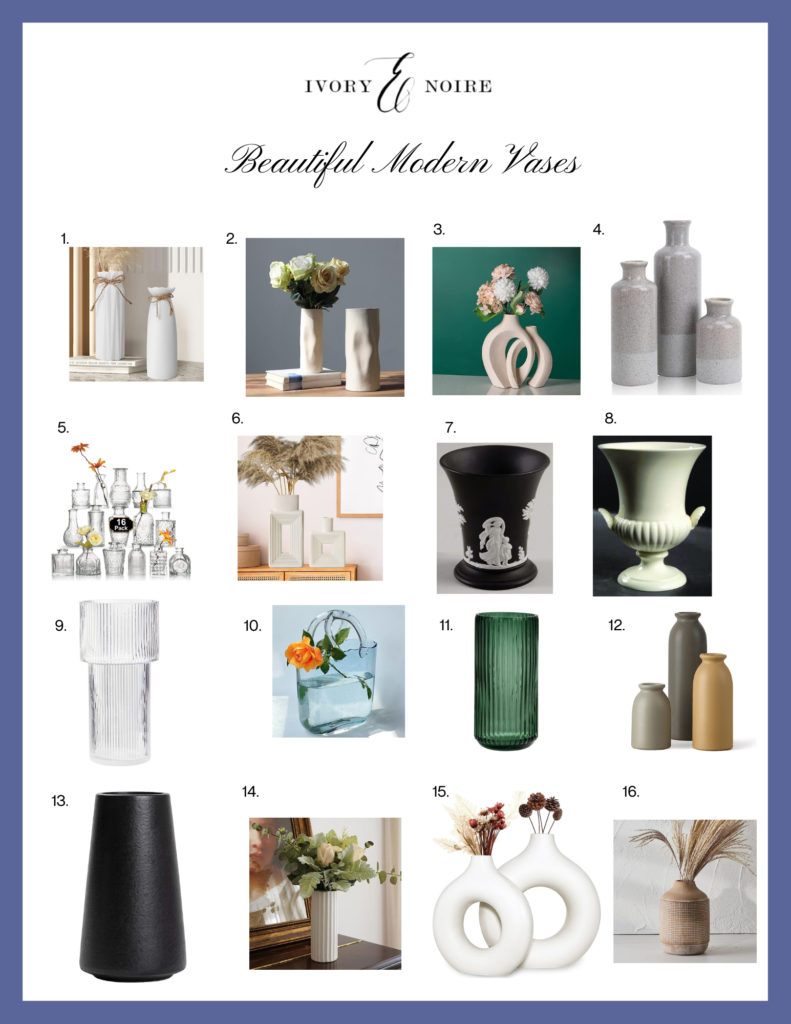

- White Vases
- Cream Vases
- Rounded Vases
- Grey Vases
- Vase Collection
- Rectangular Vases
- Black Vase
- Sage Green Vase
- Crystal Vase
- Purse Vase
- Emerald Glass Vase
- Neutral Vases
- Black Vase
- Cream Vase
- Rounded Vases
- Tan Vase
How to Put Together an Easy Rose Centerpiece
I started by cutting roses the length that would allow them to sit on the rim of the vase.
The next layer was slightly taller and so on. The flowers in the middle being the tallest to create a dome shape.
I’ve alternated using the different types of roses in the bouquet throughout the arrangement for added texture and color variety.


I hope this post helped you learn how to put together an easy rose centerpiece! We would love to see what you create make sure to tag us at #inspiredbyivoryandnoire
If you loved this post, I think you’d love these ones too:
5 Tips for How to Set a Spring Tablescape

